
Here’s a comprehensive guide on how to install a Cosco car seat safely, ensuring your little one is protected on every journey.
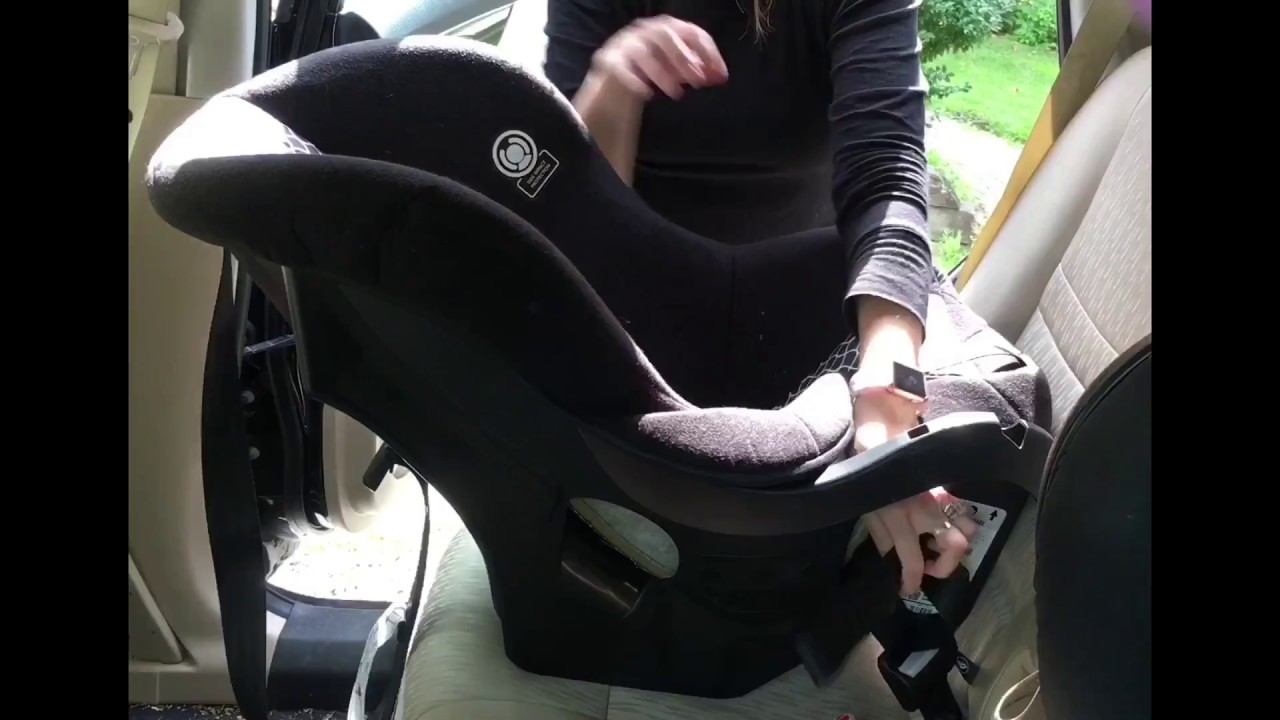
Image Source: i.ytimg.com
How To Install A Cosco Car Seat Safely Step-by-Step
Knowing how to install a Cosco car seat correctly is crucial for your child’s safety. This guide will walk you through the process, covering different types of Cosco car seats and essential considerations. Whether you have a Cosco Scenera, Cosco Apex, or another Cosco convertible car seat, the principles remain the same: a secure installation is paramount.
What is the most important factor when installing a car seat? The most important factor is ensuring the car seat is installed tightly and correctly, with no more than one inch of movement at the base where it connects to the vehicle seat.
Installing a car seat might seem daunting, but with clear instructions and a little patience, you can do it with confidence. We’ll delve into securing your Cosco car seat using both the seat belt and the LATCH system, and touch upon using a Cosco stroller with its car seat. We will also explore when to consider a Cosco booster seat for older children. Always refer to your specific Cosco car seat manual for detailed instructions tailored to your model.
Preparing for Installation
Before you begin, gather everything you need and make sure your vehicle is ready.
Essential Items
- Your Cosco Car Seat: Ensure it’s the correct seat for your child’s age and weight. Cosco offers a range of options, from infant car seats to convertible models like the Cosco convertible car seat, and even Cosco booster seat options for older kids.
- Cosco Car Seat Manual: This is your primary resource. Keep it handy throughout the installation process. Each model, like the Cosco Apex or Cosco Scenera, will have specific instructions.
- Vehicle Owner’s Manual: This manual will provide information about your car’s seat belt system and LATCH anchor locations.
- A Clean Vehicle Seat: Remove any debris or objects from the area where the car seat will be placed.
Checking Your Vehicle for LATCH Anchors
Many newer vehicles are equipped with the Lower Anchors and Tethers for Children (LATCH) system. This system provides an alternative to using the vehicle’s seat belt to secure the car seat.
- Locate LATCH Anchors: Look for the LATCH symbol (often a silhouette of a child in a car seat) on your vehicle’s seat bight (where the seat back meets the seat cushion). The anchors are typically metal bars. Refer to your vehicle owner’s manual for precise locations.
- Check Anchor Condition: Ensure the anchors are not damaged or obstructed.
Understanding Seat Belt Installation
If your vehicle doesn’t have LATCH anchors, or if you choose to use the seat belt, you’ll need to know how your car’s seat belts function.
- Seat Belt Types: Most vehicles have either a lap-and-shoulder belt or a lap-only belt. Car seats are designed to be installed with both.
- Locking Mechanisms: Understand how to lock your seat belt. This is often done by pulling the shoulder belt all the way out, which engages a locking mechanism, allowing you to retract it tightly. Some vehicles have built-in locking clips or built-in locking retractors on the seat belts. Your vehicle owner’s manual will detail this.
Installing Your Cosco Car Seat: Step-by-Step
There are two primary methods for installing a car seat: using the vehicle’s seat belt or using the LATCH system. We’ll cover both.
Method 1: Installing with the Vehicle’s Seat Belt
This is a reliable method, especially in vehicles without LATCH or when you need to switch between vehicles that may have different LATCH systems.
Securing the Car Seat Base (Rear-Facing)
Many Cosco convertible car seats can be used rear-facing for infants and toddlers. The Cosco Scenera is a popular choice for this stage.
- Position the Car Seat: Place the Cosco car seat on the vehicle’s back seat. For rear-facing installation, the recline angle is critical. Most car seats have a built-in indicator (a bubble or line) to help you achieve the correct angle. The car seat should be reclined enough so that the child’s head is supported and does not flop forward.
- Route the Seat Belt: Open the belt path designated for rear-facing installation on your Cosco car seat. Thread the vehicle’s lap and shoulder belt through this path. Ensure the belt is not twisted.
- Buckle the Seat Belt: Buckle the seat belt into the buckle receptacle.
- Lock the Seat Belt: This is a crucial step.
- If your vehicle has a locking clip: The Cosco car seat manual will likely instruct you to use a locking clip (sometimes included with the car seat, or available separately from child passenger safety technicians). After buckling the seat belt, pull the shoulder belt all the way out to lock the retractor. Then, guide the shoulder belt into the locking clip according to the clip’s instructions and place the clip over the lap belt portion of the seat belt.
- If your vehicle has built-in locking retractors: Pull the shoulder belt all the way out until it clicks and stops extending. Then, allow the belt to retract slowly, keeping tension. The seat belt should now be locked in place.
- Tighten the Seat Belt: Press down firmly on the car seat base with your weight (e.g., lean into it with your body). While pressing down, pull the vehicle’s seat belt taut to remove any slack. Check for tightness by trying to move the car seat side-to-side at the belt path. It should not move more than one inch in any direction.
- Check the Recline Angle: Ensure the recline indicator on the car seat shows the correct angle for a rear-facing installation. Adjust the recline foot or position of the car seat if needed.
- Attach the Top Tether (Forward-Facing Only): The top tether is a strap that attaches from the back of the car seat to an anchor point in your vehicle. For forward-facing installations, this significantly reduces head excursion in a crash. Your Cosco car seat manual will specify when and how to use the top tether.
Securing the Car Seat (Forward-Facing)
As your child grows, you’ll transition to a forward-facing installation. This applies to models like the Cosco Apex and many Cosco convertible car seats.
- Position the Car Seat: Place the car seat on the vehicle’s back seat in the forward-facing position. Ensure the seat is level.
- Route the Seat Belt: Open the belt path designated for forward-facing installation. Thread the vehicle’s lap and shoulder belt through this path. Make sure the belt is flat and not twisted.
- Buckle the Seat Belt: Buckle the seat belt into the buckle receptacle.
- Lock the Seat Belt: Use the same locking method as described for rear-facing installation (locking clip or vehicle’s built-in locking retractor).
- Tighten the Seat Belt: Apply downward pressure on the car seat, ideally on the area where the child’s shoulders would be. Pull the seat belt taut to remove slack. Again, the seat should not move more than one inch side-to-side at the belt path.
- Attach the Top Tether: Locate the top tether anchor point on your vehicle’s rear shelf, seat back, or floor. Attach the car seat’s top tether strap to this anchor and tighten it until snug. Refer to your Cosco car seat manual and vehicle owner’s manual for proper tether anchor locations and usage.
Method 2: Installing with the LATCH System
The LATCH system can often make installation simpler and quicker.
Securing the Car Seat Base (Rear-Facing with LATCH)
- Position the Car Seat: Place the Cosco car seat on the vehicle’s back seat. Ensure the correct recline angle for rear-facing is achieved using the indicator.
- Locate LATCH Connectors: Find the LATCH connectors on your Cosco car seat. These are usually straps with metal clips or rigid connectors.
- Attach LATCH Connectors: Attach the LATCH connectors to the corresponding LATCH anchor points in your vehicle. Most LATCH systems have lower anchors at the seat bight.
- Tighten the LATCH Strap: Apply downward pressure on the car seat. Pull the LATCH strap to remove slack, ensuring a tight fit. Check for movement at the belt path – it should not exceed one inch side-to-side.
- Check the Recline Angle: Confirm the recline indicator is showing the correct angle for rear-facing.
- Attach the Top Tether (Forward-Facing Only): As mentioned before, the top tether is essential for forward-facing installations.
Securing the Car Seat (Forward-Facing with LATCH)
- Position the Car Seat: Place the car seat on the vehicle’s back seat in the forward-facing position.
- Locate LATCH Connectors: Find the LATCH connectors on your car seat.
- Attach LATCH Connectors: Attach the LATCH connectors to the lower anchor points in your vehicle.
- Tighten the LATCH Strap: Apply downward pressure on the car seat and pull the LATCH strap to remove slack. Ensure the seat is secure and doesn’t move more than one inch at the belt path.
- Attach the Top Tether: Connect the top tether strap to the appropriate anchor point in your vehicle and tighten it until snug.
Using a Cosco Car Seat with a Cosco Stroller
Many parents appreciate the convenience of a travel system, where an infant car seat clicks into a compatible Cosco stroller.
- Compatibility Check: Always ensure your Cosco car seat model is compatible with your Cosco stroller model. Refer to both manuals.
- Attachment Process: Typically, you’ll align the car seat with the stroller frame’s adapters and push down until it clicks securely into place.
- Safety First: Never use a stroller if the car seat is not properly latched. Always check that the seat is secure before moving.
Transitioning to a Cosco Booster Seat
As your child outgrows their convertible car seat, a Cosco booster seat offers continued safety and proper belt positioning.
- When to Transition: Children typically transition to a booster seat when they have outgrown the height or weight limits of their convertible car seat, and when they are mature enough to sit properly in a booster seat for the entire trip.
- Types of Boosters: Cosco offers various booster seat options, including high-back boosters and backless boosters, that help position the vehicle’s seat belt correctly over the child’s strongest bones – the shoulder and hips.
- Installation: Booster seats are generally secured using the vehicle’s seat belt. Some high-back boosters also have LATCH connectors to keep the booster in place when the child is not in it, but the seat belt is still the primary restraint for the child. Always follow the Cosco car seat manual for booster installation.
Key Safety Checks and Tips
Regularly checking your car seat installation is vital.
The “Inch Test”
- What it is: The “inch test” is the most basic and critical check. Grab the car seat firmly at the belt path (where the seat belt or LATCH strap goes through). Try to move it side-to-side and front-to-back.
- What to aim for: The car seat should not move more than one inch in any direction.
Checking Recline Angle
- Rear-Facing: The recline angle is crucial for infants to prevent their airways from collapsing. Always use the recline indicator on the car seat. If the indicator isn’t clear, or if you’re unsure, a certified Child Passenger Safety Technician can help.
- Forward-Facing: While less critical than rear-facing, ensure the seat is reasonably level and not tilted too far forward or backward.
Top Tether Usage
- Always Use When Forward-Facing: The top tether is a vital safety feature that reduces forward head movement in a crash. Always attach and tighten it according to your Cosco car seat manual.
- Find the Right Anchor: Consult your vehicle owner’s manual to identify the correct top tether anchor points.
Harness Fit
- Harness Straps: For both rear-facing and forward-facing, the harness straps should be at or below the child’s shoulders when rear-facing, and at or above the child’s shoulders when forward-facing.
- Harness Tightness: The harness should be snug. You should not be able to pinch any slack in the webbing at the child’s collarbone. The chest clip should be at armpit level.
Expiration Dates
- Check for Expiration: Car seats have expiration dates, usually 6-10 years from the date of manufacture. Materials degrade over time, affecting safety. Check the label on your Cosco car seat for its expiration date.
- Discontinued Models: If a car seat model has been discontinued (like some older Cosco booster seat models), it may be harder to find replacement parts or get expert advice.
Frequently Asked Questions (FAQ) about Cosco Car Seat Installation
Here are some common questions regarding Cosco car seat installation.
Q1: Can I install a Cosco car seat using both the seat belt and LATCH at the same time?
A: No, you should only use one method of securing the car seat to the vehicle at a time – either the seat belt or the LATCH system. Using both simultaneously can interfere with the car seat’s ability to absorb crash energy and may not provide adequate protection. Always refer to your specific Cosco car seat manual for clarification.
Q2: How often should I check my Cosco car seat installation?
A: It’s good practice to check the installation periodically, especially after the seat has been removed and reinstalled, or if you suspect it might have loosened. A quick “inch test” before each trip is always a good idea.
Q3: My Cosco car seat has a built-in lock-off. How do I use it?
A: Many Cosco car seats, including some Cosco convertible car seat models, feature a built-in lock-off device. This device is designed to help you get a tight installation using the vehicle’s seat belt without needing a separate locking clip or relying solely on the vehicle’s locking mechanism. Consult your Cosco car seat manual for precise instructions on how to engage and use the lock-off feature for your model.
Q4: Where can I find Cosco car seat reviews?
A: You can find Cosco car seat reviews on various online retail websites, parenting blogs, and child passenger safety websites. Reading Cosco car seat reviews can offer insights into user experiences with specific models like the Cosco Scenera or Cosco Apex.
Q5: What is the weight and height limit for a Cosco Scenera rear-facing installation?
A: The weight and height limits for rear-facing installation vary by model. For the Cosco Scenera NEXT DLX, for example, the rear-facing limits are typically up to 40 pounds and 32 inches. Always check the specific labels and your Cosco car seat manual for the exact limits for your seat.
Q6: My Cosco convertible car seat came with a Cosco car seat base. Do I need it?
A: Some convertible car seats may come with a separate base that offers additional recline options or features. However, many convertible car seats are designed to be installed directly into the vehicle without a separate base. Again, your Cosco car seat manual will provide specific guidance on whether a base is included, required, or optional for your model.
Q7: Can I use a Cosco stroller with a car seat that is not a Cosco brand?
A: Generally, you should only use a Cosco stroller with a Cosco car seat if it is specifically designed and tested to be compatible. Using a car seat with an incompatible stroller can pose serious safety risks. Always check the compatibility information provided by both the car seat and stroller manufacturers.
Q8: What if my car seat doesn’t feel tight enough, even after following the instructions?
A: If you cannot achieve a secure installation (less than one inch of movement at the belt path), it’s highly recommended to seek assistance from a certified Child Passenger Safety Technician (CPST). They can evaluate your installation, check for compatibility issues, and provide hands-on guidance. You can find a local CPST through resources like Safe Kids Worldwide.
By following these steps and prioritizing safety checks, you can ensure your Cosco car seat is installed correctly, providing the safest ride for your child. Remember, your Cosco car seat manual is your ultimate guide, and a certified technician is an invaluable resource if you have any doubts. Safe travels!