
Can you remove tint adhesive from a car window? Yes, you absolutely can remove tint adhesive from your car window. It might take a little patience and the right tools, but it’s a manageable DIY project.
Removing old car window tint can seem daunting, especially when you’re faced with stubborn, sticky residue. This guide breaks down the process of car window tint removal into easy-to-follow steps, so you can get your windows looking crystal clear again. We’ll cover everything from the basic tools you’ll need to the most effective methods for tackling that stubborn sticky residue removal.
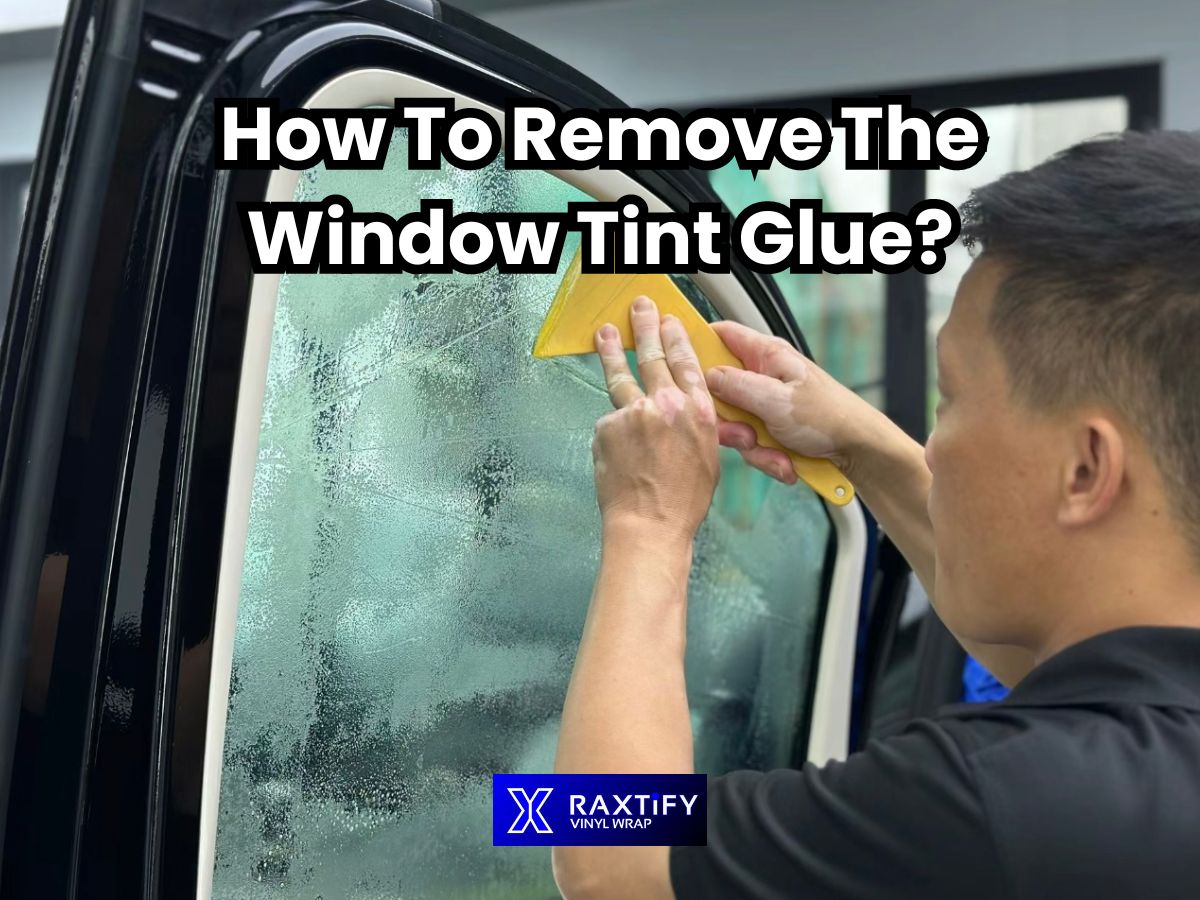
Image Source: raxtify.com
Gathering Your Supplies for Tint Removal
Before you start, it’s important to have all your supplies ready. This will make the process smoother and more efficient. You don’t want to stop halfway through to run to the store!
Here’s a list of what you’ll likely need:
- Heat Gun or Hair Dryer: Essential for softening the tint film and adhesive.
- Razor Blade Window Scraper or Tint Removal Tool: A new, sharp blade is key for safely scraping.
- Adhesive Solvent or Tint Glue Remover: This will be your best friend for the sticky bits.
- Plastic Scrapers or Old Credit Cards: Good for applying solvents and scraping softer residue.
- Microfiber Towels or Paper Towels: For cleaning up and drying.
- Bucket of Warm, Soapy Water: A gentle cleaning solution.
- Gloves: To protect your hands from solvents.
- Safety Glasses: To protect your eyes from any flying debris or splashes.
- Trash Bags: For the removed tint and towels.
- Auto Glass Cleaner: For the final polish.
Step-by-Step Guide to Removing Car Window Tint
Let’s dive into the actual process of getting that old tint off.
Step 1: Prepare Your Workspace
- Park in a Shaded Area: Direct sunlight can make the glass too hot, which can be dangerous when using a heat gun and can also make the tint harder to remove cleanly.
- Protect Your Car’s Interior: Lay down old towels or a drop cloth inside your car, especially around the edges of the window you’re working on. This will catch any dripping water, soap, or solvent and protect your seats and carpet.
Step 2: Heat the Tint Film
This is where the heat gun or hair dryer comes in. The goal is to warm the tint film, not to melt or scorch it.
- Apply Heat: Hold the heat gun about 6-8 inches away from the window. Move it back and forth in a steady motion across a small section of the tint. You’ll see the tint start to loosen and bubble slightly.
- Test a Corner: Once you’ve heated a section, try to lift a corner of the tint with your fingernail or a plastic scraper. If it starts to peel, you’re doing it right. If it’s still stuck fast, apply a little more heat.
Step 3: Peel Off the Tint Film
Once the tint is softened, it’s time to start peeling.
- Begin Peeling: Start at a corner that you’ve managed to lift. Peel the tint off slowly and steadily. Try to peel it at a low angle, almost parallel to the glass.
- Maintain Heat: As you peel, continue to apply heat to the section you are currently working on. This helps the tint to come off in larger, cleaner pieces, reducing the amount of adhesive left behind.
- Be Patient: If the tint starts to tear or break into small pieces, don’t panic. Just go back to that section and apply more heat, then try peeling again. Sometimes, you might need to repeat the heating process several times on a stubborn area.
Step 4: Tackling the Stubborn Adhesive
This is often the trickiest part. After removing the main tint film, you’ll likely have a layer of adhesive left on the glass.
Using a Razor Blade Window Scraper
A razor blade window scraper is a powerful tool for removing adhesive.
- Preparation: Ensure your blade is sharp and new. A dull blade can scratch the glass. Apply some soapy water or a specialized tint glue remover to the window to help lubricate the surface.
- Scraping Technique: Hold the razor blade at a very low angle (almost flat against the glass). Gently push the blade under the adhesive. Work in short, overlapping strokes.
- Lubrication is Key: Keep the glass wet. If the area dries out, the blade can stick and potentially scratch the glass. Reapply soapy water or your adhesive solvent as needed.
- Be Careful: Never scrape on dry glass. Always keep the blade lubricated and at a shallow angle to avoid scratching.
Applying an Adhesive Solvent
For tougher adhesive patches, an adhesive solvent or dedicated tint glue remover is highly effective.
- Choose Your Solvent: Options include commercial tint removers, denatured alcohol, acetone (use with caution on tinted plastic trim nearby), or even a strong ammonia-based cleaner. Always test a small, inconspicuous area first to ensure it doesn’t damage your car’s paint or trim.
- Application: Spray the solvent generously onto the remaining adhesive. Let it sit for a few minutes to break down the glue.
- Scrape and Wipe: Use your plastic scraper or a residue scraper to gently lift the softened adhesive. Follow up by wiping the area with a microfiber towel.
- Repeat if Necessary: Some adhesives are very persistent. You may need to apply the solvent and scrape multiple times.
Soapy Water Tint Removal
For lighter adhesive residue, soap and water tint removal can be surprisingly effective.
- Make a Solution: Mix a good amount of dish soap with warm water in a bucket.
- Apply and Soak: Thoroughly wet the window with the soapy water. For very stubborn spots, you can soak a towel or paper towels in the soapy water and lay them over the adhesive for 10-15 minutes. This allows the soap to penetrate and loosen the glue.
- Scrape and Wipe: Use your plastic scraper or even a squeegee to remove the loosened adhesive. Wipe down with a clean, damp towel, and then dry.
Step 5: Cleaning the Glass Thoroughly
Once all the tint and adhesive are gone, you need to clean the glass thoroughly.
- Initial Wash: Wash the entire window with your soapy water solution. This will remove any remaining residue from the solvents or scraping.
- Rinse: Rinse the window well with clean water.
- Use Auto Glass Cleaner: Spray your auto glass cleaner onto the window.
- Wipe and Buff: Use a clean, dry microfiber towel or paper towels to wipe the glass clean. For a streak-free finish, some people use a second, dry microfiber towel to buff the glass.
- Inspect: Look at the glass from different angles to ensure all residue is gone and there are no scratches.
Alternative Methods and Tips
Sometimes, you might encounter particularly stubborn tint or adhesive. Here are a few more techniques and tips.
Heat Gun Tint Removal: A Closer Look
The heat gun tint removal method is generally the most effective for the initial film removal.
- Temperature Control: Be mindful of the heat gun’s settings. Start on a lower setting and increase it only if needed. Excessive heat can crack the glass, especially if there are existing chips or cracks.
- Continuous Movement: Never hold the heat gun in one spot for too long. Constant motion prevents overheating.
- Safety First: Keep flammable materials away from the heat gun.
Using a Chemical Stripper (with Extreme Caution)
In rare, very tough cases, a chemical stripper designed for paint or adhesive removal might be considered.
- Extreme Caution: This is a last resort and should only be attempted if other methods fail. Chemical strippers are potent and can damage your car’s paint, interior trim, and even some plastics.
- Ventilation: Work in a very well-ventilated area.
- Protective Gear: Wear heavy-duty gloves, safety glasses, and a respirator.
- Test Area: Always test the stripper on a small, inconspicuous area of the glass first.
- Application and Removal: Follow the product’s instructions precisely. Typically, you’ll apply it, let it sit for a short time, and then scrape and clean thoroughly.
- Immediate Cleanup: Thoroughly clean the area with soap and water immediately after using a chemical stripper to neutralize any remaining chemicals.
What to Do About Scratches
Even with the best care, you might get minor scratches.
- Minor Scratches: Small, hairline scratches can sometimes be buffed out with a glass polishing compound.
- Deeper Scratches: Deeper scratches might be permanent and could require professional attention or even glass replacement. Prevention by using sharp blades and proper lubrication is key.
Table: Tint Removal Methods and Their Effectiveness
| Method | Best For | Pros | Cons |
|---|---|---|---|
| Heat Gun + Razor Blade | Tint film & most adhesive | Effective for film, good for adhesive | Risk of scratching with dull blades, heat can damage glass |
| Adhesive Solvent | Stubborn adhesive | Quickly breaks down glue | Can damage paint/trim, requires good ventilation |
| Soapy Water | Light adhesive residue | Safe, readily available, gentle | Less effective on very strong adhesives |
| Chemical Stripper (Last Resort) | Extremely tough adhesive | Very powerful | High risk of damage to car, requires extensive safety gear |
Frequently Asked Questions About Car Window Tint Removal
Q1: How long does it take to remove car window tint?
A1: The time it takes can vary greatly depending on the tint’s age, the type of adhesive used, and your experience. For a single rear window, it could take anywhere from 30 minutes to 3 hours. Front windows are usually quicker.
Q2: Will removing tint damage my car window?
A2: There’s a risk of scratching the glass if you use a dull blade or scrape on dry glass. Overheating with a heat gun can also potentially cause cracks, especially on older or already damaged windows. Patience and the right technique are crucial.
Q3: What is the best tint glue remover?
A3: Many excellent commercial tint glue remover products are available. Brands like Goo Gone, 3M Adhesive Remover, or specialized auto glass cleaners with adhesive-dissolving properties work well. Denatured alcohol or acetone can also be effective but use them cautiously.
Q4: Can I use a regular razor blade for tint removal?
A4: While a regular razor blade can be used, it’s highly recommended to use a blade specifically designed for glass or a razor blade window scraper with a holder. These are designed to be used at a low angle and have holders that provide better control and reduce the risk of breakage and scratches. Always use a new, sharp blade.
Q5: How do I remove tint from the inside of the rear window with a defroster?
A5: This is trickier because the defroster lines are delicate. Avoid using a razor blade directly on the defroster lines. Instead, rely heavily on heat from a heat gun or hair dryer to soften the tint and adhesive. Use plastic scrapers and adhesive solvent or soapy water to gently lift the tint and residue. Work very carefully to avoid damaging the defroster grid. If you’re unsure, it might be best to consult a professional for rear defroster windows.
Q6: What are the signs that the tint is old and difficult to remove?
A6: Old tint often starts to peel on its own, turns purple or bronze in color, and becomes brittle. The adhesive will likely be very hardened and difficult to scrape off.
Q7: Can I just spray the tint with water and peel it off?
A7: Simply spraying with water might help loosen a very fresh or low-quality tint, but it’s rarely enough for most older or professionally installed tints. You’ll likely need heat and a scraper, followed by an adhesive solvent for the residue.
Q8: How do I deal with the tint film breaking into tiny pieces?
A8: If the tint film breaks, it means it wasn’t sufficiently softened. Apply more heat to the small remaining pieces and try to lift them again. For tiny fragments of adhesive, a good residue scraper and adhesive solvent will be your best bet.
Q9: Is it possible to re-tint the window immediately after removal?
A9: Yes, once the window is perfectly clean and dry, you can re-tint it. However, ensure all traces of old adhesive are gone, as even a small amount can affect the new tint’s adhesion and appearance.
By following these steps, you can successfully remove old car window tint and its stubborn adhesive, restoring clarity to your vehicle’s windows. Remember, patience and the right tools are your greatest allies in this DIY project.